Color Reduction with K-Means Clustering
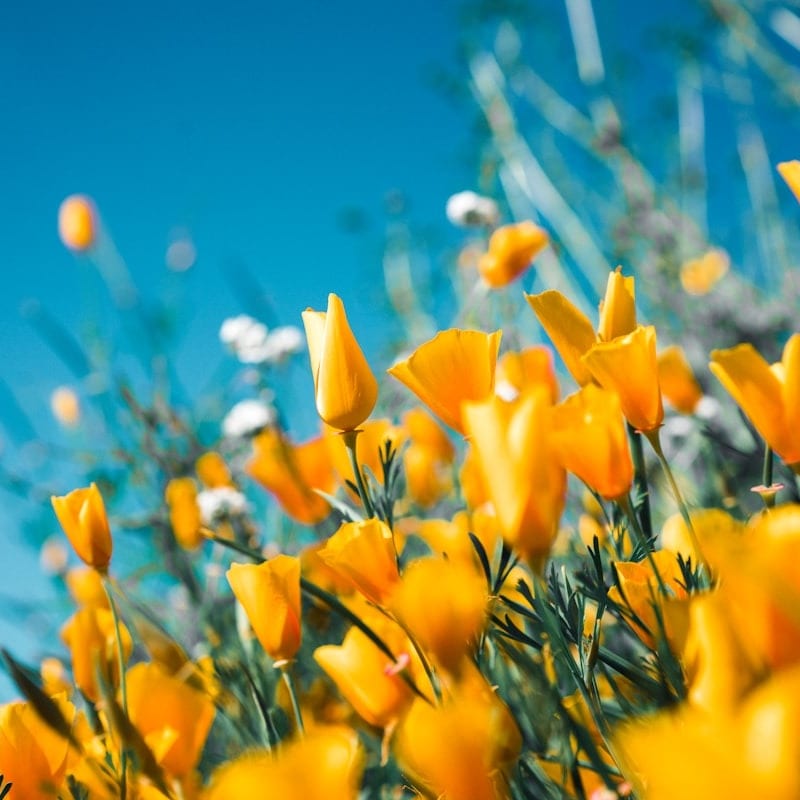
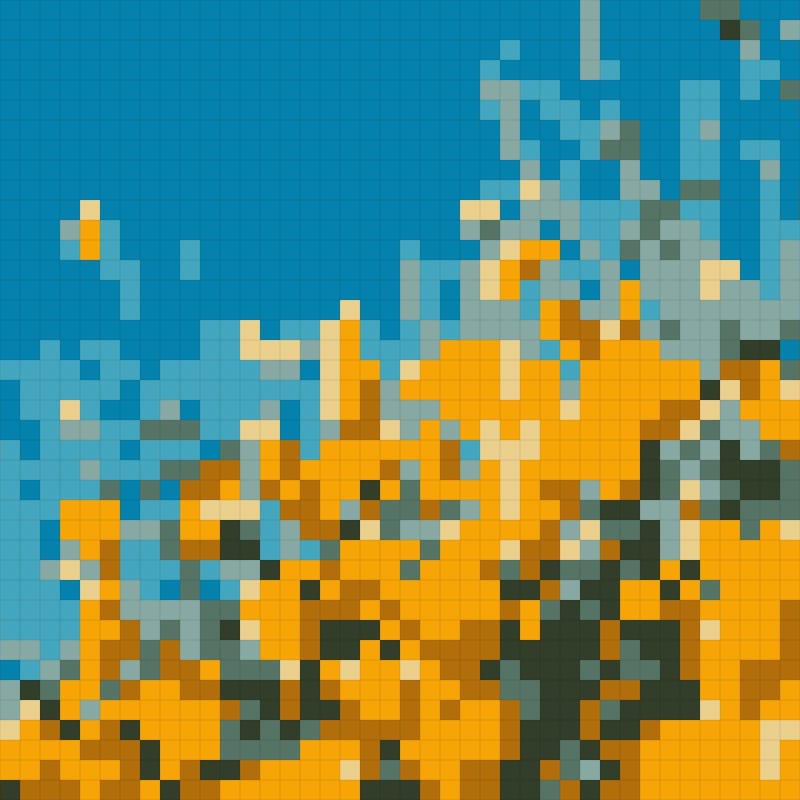
The most critical step in pattern generation is reducing the photograph's color palette to a manageable number of thread colors. This tool uses K-Means clustering to group similar colors and select representative digital colors. The printable planning report then maps those colors to a compact set of approximate DMC references. Screen-to-thread matching is inherently approximate, so compare the suggested codes with a physical thread card before purchasing materials.
Understanding Grid Resolution and Project Size
The Intensity slider controls the grid resolution from about 40 to 120 squares across. This directly determines both visual detail and project scope. The built-in fabric planner converts chart dimensions into finished inches for common fabric counts and adds a selectable cutting margin.
Choosing the Right Color Count
The Colors control (2 to 32) balances visual richness against stitching complexity. Patterns with 4-8 colors are beginner-friendly and stitch quickly, producing bold graphic results. Patterns with 12-16 colors capture more nuance and work well for landscapes and pet portraits. Going beyond 20 colors adds subtle shading that creates impressive photorealistic results but requires careful thread management and more frequent color changes.
Selecting Photos That Translate Well
Not every photograph produces a satisfying pattern. The best source images share several qualities: strong contrast between the subject and background, a clear focal point, and bold shapes that remain recognizable even at low grid resolutions. Close-up portraits with good lighting work exceptionally well. Pet photos taken against simple backgrounds produce charming results — fur textures create interesting stitch patterns. Landscapes with dramatic features like sunsets, lighthouses, or mountain silhouettes retain their impact at smaller grid sizes. Avoid images that are blurry, overly dark, or filled with fine detail that would be lost in the grid.
Working with the Grid Overlay
The generated pattern includes a visible grid overlay where each colored square represents one cross stitch. When stitching, work from the center outward to maintain fabric tension and alignment. Consider printing the pattern at enlarged scale and using a highlighter to mark completed rows — this prevents counting errors on complex patterns.
Fabric and Thread Planning
The most common fabric choice is 14-count Aida, where each inch contains 14 holes. Higher counts (16, 18, or 28-count evenweave) produce finer, more detailed results but require better eyesight and patience. Calculate your fabric size by dividing the pattern's square count by your fabric's thread count, then add 3-4 inches on each side for framing margins.
Matching Pattern Colors to DMC and Anchor Threads
When the converter reduces your photo to a limited palette, each colored square needs a real thread to bring it to life. The two dominant brands are DMC (French) and Anchor (British), each offering roughly 450 to 500 solid stranded cotton shades sold in six-strand skeins. DMC numbers like 310 (black), 817 (coral red), and 3865 (winsor white) are the de facto industry standard, and most published conversion charts cross-reference Anchor equivalents. To match a generated color, hold a printed swatch beside a physical thread card in daylight, or use a DMC-to-RGB conversion list to find the nearest floss number. Because screen colors are backlit and thread is reflective, always verify against a real skein before buying — monitor blues and greens in particular tend to read brighter than the floss you will actually stitch.
Counted Cross Stitch Versus Stamped Kits
Patterns from this tool are designed for counted cross stitch, the traditional method where you work from a chart onto blank gridded fabric, counting squares to place each stitch. This differs from stamped cross stitch, where the design is pre-printed directly onto the cloth and you simply stitch over the printed marks. Counted work gives crisper results, works on any fabric count, and never leaves faint printed ink showing through pale threads — but it demands accurate counting and a center starting point. Stamped kits are friendlier for absolute beginners and children because there is no charting to read. Since a converted photo produces a symbol chart rather than printed fabric, you will be stitching counted-style, which is why marking your fabric center and working outward matters so much.
How to Read a Cross Stitch Chart and Its Symbols
A generated chart is a grid where every square holds either a color block, a symbol, or both. In black-and-white symbol charts, each thread color is assigned a unique glyph — a star, triangle, dot, or letter — listed in a key alongside its DMC number and a strand count. This symbol system exists because similar shades (three close grays, for example) are nearly impossible to tell apart by color alone on a printed page. Bold lines divide the grid into 10-by-10 blocks so you can count quickly without losing your place. The center is usually marked with arrows on the top and side edges; matching that center to your fabric center keeps the finished piece properly positioned. Read one block at a time, stitch it fully, then move to the adjacent block.
Aida Count Comparison and Finished Sizes
Aida fabric is rated by count — the number of stitches per linear inch — and that single number decides how big your project becomes. The table below assumes a pattern 100 stitches wide. 11-count: about 11 stitches per inch, roughly 9.1 inches wide, large holes, ideal for kids and low vision. 14-count: 14 per inch, about 7.1 inches, the universal beginner standard. 16-count: 16 per inch, around 6.3 inches, finer detail with manageable holes. 18-count: 18 per inch, about 5.6 inches, sharp detail needing good light. 28-count evenweave or linen stitched over two threads: effectively 14 stitches per inch like 14-count Aida but with a smoother surface. To find your size, divide pattern stitch width by the count number.
Preparing and Hooping Your Fabric
Before the first stitch, cut your Aida at least three inches larger than the finished design on every side to leave room for hooping and framing. Overcast or zigzag the raw edges, or bind them with masking tape, to stop fraying as you handle the piece. Find the center by folding the fabric in half twice and creasing lightly, then run a line of contrasting basting thread along both center lines to mark it. When hooping, lay the fabric over the inner ring, press the outer ring down, and tighten the screw while gently tugging the edges until the surface is drum-taut with the weave running straight. Loosen and reposition the hoop between sessions so it never sits in one spot long enough to leave a permanent ring.
Common Beginner Mistakes and How to Fix Them
The most frequent error is inconsistent stitch direction — every top stitch must cross the same way (for example bottom-left to top-right) or the surface looks restless and uneven. Second is miscounting, usually from starting at a corner instead of the center; always begin at the marked middle and count in small blocks. Third is using too many strands; on 14-count Aida two strands of floss give full coverage, while three look bulky and fight the holes. Fourth is pulling thread too tight, which puckers the fabric and distorts the grid — let each stitch sit flat. Finally, knots on the back create lumps and can pull through; anchor your thread with the loop method or by weaving the tail under the first few stitches instead.
A Complete Project Walkthrough From Photo to Frame
Start with a high-contrast, well-lit photo and upload it to the browser-based tool. Set grid resolution and color count, enable Reduce Confetti, choose the fabric count and margin, then use Print / Save PDF to create a chart and approximate DMC planning table. Verify suggested colors against physical thread before buying. Prepare and hoop the fabric, mark the center, and stitch outward block by block.
Can I turn any photo into a cross stitch pattern?
Almost any photo can be converted, but the results depend heavily on the source image. Photos with a clear subject, strong contrast, and a simple background translate into clean, recognizable patterns, while busy scenes, low light, or tiny distant details tend to produce muddy charts full of confusing single stitches. Portraits, pets, landscapes, and logos all work well when cropped tightly around the subject. This free tool lets you preview the chart before committing, so you can adjust the grid size and color count until the pattern reads clearly.
How many colors should I use in a cross stitch pattern?
For beginners, 10 to 20 colors keep a project manageable while still capturing recognizable detail. Intermediate stitchers comfortable with thread organization often use 25 to 40 colors for richer, more photographic results. Above roughly 50 colors you gain subtle shading but face frequent thread changes and many squares that use a color only once or twice, which slows stitching considerably. A practical approach is to start lower, preview the chart, and add colors only where the image loses important detail.
What fabric count is best for beginners?
Most beginners should start with 14-count Aida. Its holes are large enough to see and stitch into easily without a magnifier, it is the most widely available count, and almost every pattern lists its size in 14-count terms. If you have limited vision or are teaching a child, step down to 11-count for even bigger, more forgiving holes. Save 16-count and 18-count for later projects once your stitch tension is consistent, since their smaller holes demand better light and a steadier hand.
How long does a cross stitch pattern take to finish?
Time scales with the total stitch count and how many colors you change. A small 40-by-40-square design (about 1,600 stitches) is an evening or two of work, while a 100-by-100 pattern (around 10,000 stitches) typically takes a dedicated stitcher several weekends. As a rough planning figure, many people average 30 to 50 stitches in 15 minutes once they settle into a rhythm. Large photographic patterns over 150 squares wide can become multi-month projects, so check the stitch dimensions on your downloaded chart before starting and pick a size that matches your patience and deadline.