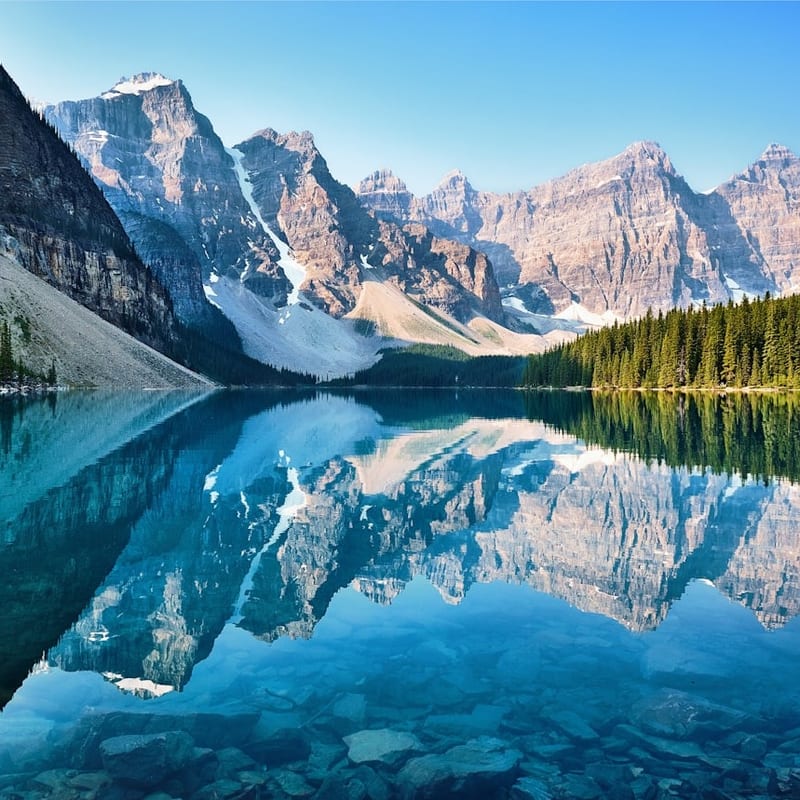
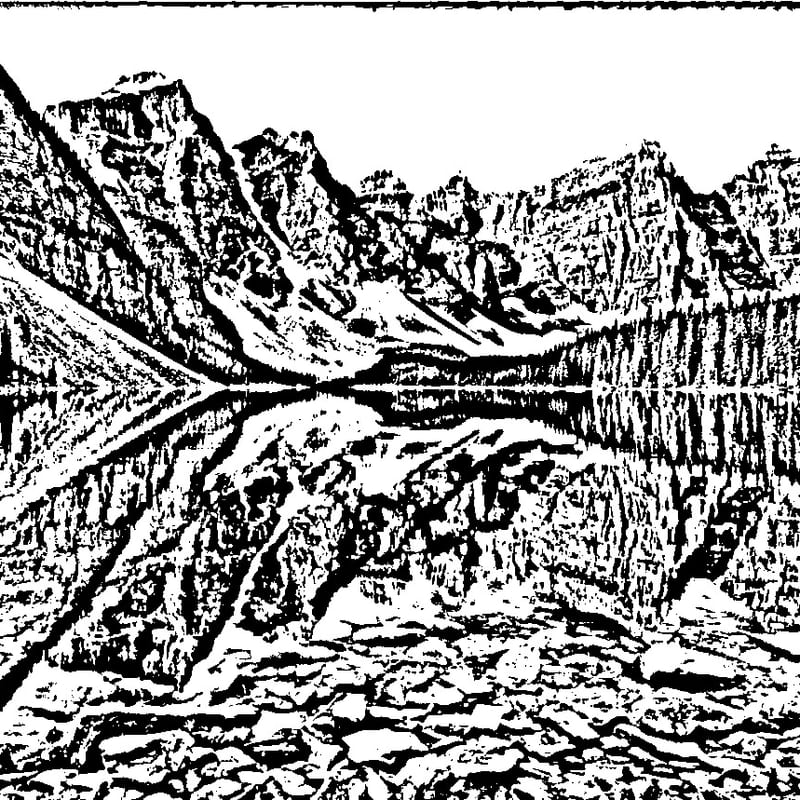
Dithering Mode — Floyd-Steinberg Algorithm
Toggle dithering to switch to Floyd-Steinberg error diffusion, a technique that simulates grayscale shading using only black and white dots. The algorithm processes each pixel sequentially, rounding it to black or white and distributing the rounding error to neighboring pixels. This creates a dot pattern where dense dots represent dark areas and sparse dots represent light areas. When engraved, this produces photographic-quality results with apparent tonal gradation — ideal for portraits, landscapes, and detailed artwork on wood, leather, or acrylic.
Material Considerations and the Invert Toggle
Light-colored materials like maple, birch, and light leather show engraved marks as dark burns against a pale background — use standard (non-inverted) output. Dark materials like walnut, black anodized aluminum, or dark acrylic require inverted output (white lines on black) because the laser reveals lighter material beneath the dark surface.
Resolution and DPI
The HD export option processes your image at up to 2400 pixels resolution. For laser engraving, match your export resolution to your machine's capability — most hobby lasers work well at 300-500 DPI, while professional machines can handle 1000+ DPI. Higher resolution means longer engraving time but finer detail. Compatible with popular software including LightBurn, LaserGRBL, and manufacturer apps for xTool, Glowforge, Ortur, and Atomstack machines.
Material-by-material laser settings guide
Every material absorbs laser energy differently, so the converter's output is only half the equation. Birch and basswood engrave cleanly with crisp contrast at low power, while oily woods like walnut and cherry darken more and need slightly lower power to avoid muddy shadows. Vegetable-tanned leather scorches to a rich brown and tolerates dithered photos beautifully; chrome-tanned leather releases harmful chromium fumes and should be avoided. Cast acrylic frosts white when engraved (extruded acrylic stays clear and is best for cutting). Slate produces a bright, almost-white mark with excellent photo detail. Anodized aluminum and coated metals reveal the substrate under the dye, giving sharp high-contrast results without a fiber laser.
Line engraving vs photo engraving
when to use each: Use the Canny line mode when your source is a logo, signature, icon, or any artwork built from clean outlines and solid shapes. The result is a small number of strokes the laser traces quickly, producing sharp edges and predictable burns. Use the Floyd-Steinberg dithered (grayscale photo) mode when your source is a portrait, landscape, or photograph with continuous tones. Dithering simulates gray with patterns of black and white dots, since most diode and CO2 lasers fire fully on or off per pixel. As a rule: if you can describe the image as lines, use line mode; if it has shading and gradients, use photo mode.
Step-by-step LightBurn import workflow
Export your processed image from the converter as a PNG or BMP. In LightBurn, choose File then Import and select that file, or drag it onto the canvas. Click the image, set its size in the dimensions box to your real-world target, then open the Cut/Layer settings and switch the layer mode to Image. For dithered photos set Image Mode to Pass-through (the converter already dithered it) so LightBurn won't re-process it; set DPI to match your design, commonly 254 to 318 DPI for diode lasers. Set power and speed, run a framing pass to confirm placement, then start the job.
Build a power and speed test grid first
Before engraving a final piece, run a material test grid so you dial in settings instead of guessing. LightBurn's built-in Material Test generator creates a grid of squares where one axis varies power (for example 10 to 100 percent) and the other varies speed (for example 1000 to 6000 mm/min). Run it on a scrap of the exact material and lighting, then pick the square with the contrast and depth you want. Save those numbers in a library entry labeled with the material and thickness. A ten-minute test grid prevents wasted hours and ruined workpieces, and is the single biggest quality upgrade for beginners.
Vector vs raster engraving for lasers explained
Raster engraving fills an area by sweeping the laser back and forth line by line, like an inkjet printer, and is how all photo and dithered output is burned. Vector engraving (also called line or scan mode) traces paths directly and is faster for outlines, text, and cut lines. Our converter produces raster-ready bitmaps; the Canny mode gives you thin lines that still raster cleanly, while true vector workflows require an SVG and a separate trace step. For most hobby jobs, rastering the converter's PNG is simplest. Reserve vector cutting for through-cuts and crisp single-pixel outlines where speed matters.
Laser safety basics you should not skip
Never run a laser unattended, and always know where your fire extinguisher is. Wear laser-rated safety glasses matched to your machine's wavelength (445nm for blue diodes, 10600nm for CO2) since visible blue light and invisible CO2 beams both cause permanent eye damage. Ventilate to the outdoors or through a proper filter, because engraving wood, leather, and especially any PVC or vinyl releases toxic fumes, including hydrochloric acid from PVC that destroys both your lungs and your machine. Confirm material safety before burning. Keep the work area clear of dust and solvents, and never engrave unknown plastics.
Fixing too light, too dark, and burnt edges
If the engraving is too light or faint, increase power, decrease speed, or raise DPI so lines sit closer together. If it is too dark or details fill in and smear, reduce power or increase speed, and for photos lower the DPI slightly so dots stay distinct. Burnt or charred edges, fuzzy halos, and yellow scorching around the design usually mean too much power or a dirty lens; drop power, add an air assist to blow away smoke, and wipe wood with masking tape or a damp cloth afterward. Always re-run a small test square after any change rather than risking the full piece.
How do I prepare a photo for laser engraving
Start with a high-contrast, well-lit photo and crop tightly to your subject. Upload it to this free browser-based converter, choose the Floyd-Steinberg dithering (photo) mode, and adjust brightness and contrast until facial features and edges read clearly in the preview. Increase contrast more than you think, since lasers crush midtones. Export the dithered PNG, then import it into LightBurn at your final size with Image Mode set to Pass-through. All processing happens locally in your browser, so your photo is never uploaded to a server.
What is dithering for laser engraving
Dithering is a technique that fakes shades of gray using only pure black and pure white pixels arranged in patterns, which matters because most diode and CO2 lasers can only turn fully on or off at each point. Floyd-Steinberg dithering, the method this tool uses, spreads the rounding error from each pixel to its neighbors, producing smooth, natural-looking gradients instead of harsh banding. For photo engraving on wood, slate, or leather, a good dither is what separates a recognizable portrait from a blotchy mess.
What are the best settings for engraving wood
For a typical 5 to 10 watt diode laser on birch or basswood, start a photo engraving around 60 to 80 percent power at 2500 to 3500 mm/min and roughly 254 DPI, then refine with a test grid. Lighter woods need less power than oily ones like walnut. Use the dithered photo mode for portraits and the Canny line mode for logos and text. Always sand the surface smooth, mask it with painter's tape if you want to reduce scorching, and add air assist to keep edges crisp.
Can I engrave a photo on metal
Yes, with the right metal and laser. A diode or CO2 laser cannot mark bare steel or aluminum directly, but it engraves anodized aluminum beautifully by ablating the colored dye to reveal bright metal underneath, giving excellent photo contrast. For raw metals you either need a fiber laser or a marking spray like Cermark or a titanium-dioxide coating that bonds under the beam. Prepare the image with this tool's dithered photo mode for tonal images or Canny line mode for logos, then test power and speed on a scrap piece of the same coated metal first.